Recent Posts

Friday, December 19, 2014

Chocolate Chip Candy Cane Cookies


So I'm an early shopper but a late baker. Confused? I've pretty much had my Christmas shopping completed since Black Friday. I know get all the sighs and eye rolls out now.  I love to have Christmas Cookies and will do a batch of one kind of cookie before the holidays.. but I love to do my cookie trays a few days before Christmas.


This year I've picked the 23rd as my big cookie day. I have my list of cookies to make including the following Haystacks, Little Snowballs, and  Easy Fudge.  I also had the idea for these cookies, so I made a test batch. Trust me you don't want an epic cookie fail on your big Christmas cookie day.


They turned out great and were super easy to make. Basically just add 6 chopped candy canes to my favorite chocolate chip cookie recipe. How do you chop candy canes? Well its actually really fun and stress relieving. You put your candy canes in a sandwich bag. Then you beat them with a rolling pin. Yup... Beware it will make a lot of noise. The hubby may also wonder what is going on... but its all good.


Candy Cane Chocolate Chip Cookies

Ingredients
  • 2 1/4 cups flour
  • 1 tsp baking soda
  • 1 cup butter, softened
  • 1/4 cup sugar
  • 3/4 cup brown sugar
  • 1 tsp vanilla
  • 1 package (3.4 oz) vanilla instant pudding and pie filling
  • 2 eggs
  • 1.5 cups semi sweet chocolate chips
  • 6 candy canes, crushed
Cooking Directions
  1. Preheat the oven to 350 degrees.
  2. Line two cookie sheets with parchment paper.
  3. Mix together the flour and baking soda in a small bowl and set aside.
  4. Mix together the softened butter, brown sugar and white sugar.
  5. Once it is well combined, add the instant pudding mix.
  6. After the pudding mix is integrated add the eggs and vanilla. Mix well.
  7. Now add in the flour and baking soda mixture that you had previously set aside. Blend well.
  8. Add the chocolate chips and candy canes, use low speed on your mixer or do it by hand.
  9. Drop 1 Tbsp size cookies on the cookie sheet. Form the cookie into a round ball so that they come out with a nice round shape.
  10. Bake for 11 minutes. 
This recipe originally appeared on Laura's Baking Talent. 

You may also enjoy


Red Velvet Cookies


Nutter Deer


Chocolate Mint Swirl Pudding Cookies

Tuesday, November 25, 2014

Raspberry Apple Pie


So remember the absolutely delicious Butternut Squash Pie that I posted about a week ago. Well its crust friend was getting lonely in the fridge. Crust friend? Don't worry I haven't gone completely crazy. You know when you buy pre-made crusts how two come in the pack. So you either have to make a pie with two crusts or you have to make two pies... or the crust just sits in your fridge forever. That is until you get tired of moving it... and it goes... well we won't talk about that. Since I wanted so much more for this pie crust.


Oddly enough raspberries were on super sale here a week or so ago. 50 cents for a container... I'm guessing there was a surplus of Raspberries somewhere and they decided to sell them to poor frozen Michigan. Anyway the stack of Raspberries in my fridge must have bonded with the pie crust because they joined up with the apples on my counter.. and they became this beautiful pie.

So if you haven't decided what to bring to Thanksgiving dinner this may be a good one to try.. however I would also recommend these Candy Apples. I'm making my Thanksgiving batch right now.. and they smell quite heavenly.


Raspberry Apple Pie

Ingredients
  • 1 premade pie crust
  • 3 medium apples, peeled and sliced
  • 1/2 cup sugar
  • 2 Tbsp flour
  • 1/2 tsp cinnamon
  • 2 cups fresh raspberries
  • 1/2 cup flour
  • 1/4 cup sugar
  • 1/4 cup butter, cold
  • 1/4 cup almonds, sliced (optional)
Cooking Directions
  1. Preheat the oven to 350 F.
  2. Place the pie crust into the pie pan.
  3. Mix together the apples, 1/2 cup sugar, 2 Tbsp flour, and the cinnamon.
  4. Line the pie crust with the apple mixture.
  5. Top the apples with the fresh raspberries.
  6. In a small bowl combine the 1/2 cup flour, 1/4 cup sugar, 1/4 cup butter (cut into pieces). Use a pastry cutter or two forks to cut up the butter and mix everything together.
  7. Sprinkle the topping on top of the raspberries. Do the same with the almonds.
  8. Bake for a total of 1 hour. Cover the pie at 30 minutes with foil, so that it doesn't get too brown.
This recipe was adapted from Betty Crocker.

You may also enjoy


Butternut Squash Pie


Pioneer Woman Apple Pie


Pumpkin Pie

Sunday, November 16, 2014

Butternut Squash Pie


There is a house down the road from us that sells extras from their garden on this little card table with a cash box. Before we had our own garden I loved it when the table came out, because it was really easy to walk down and get a tomato or whatever I needed for dinner that night. This year with the garden giving me an overabundance of tomatoes I didn't need to make the trip down there.


However we were walking Ginny one night and they had a few butternut squash. I purchased one and dutifully carried it home. Hubby Jim asked me what I was going to make with the squash. I said I'm not sure, but its going to be fabulous. The squash sat on the counter through September and October, good thing they don't go bad quickly.

At the beginning of November it moved from by the spice rack to by the stove. Hubby Jim was like the squash moved... does that mean something. I just chuckled. A couple of days later I made this butternut squash pie.


It tasted a little like pumpkin pie, but with a more intense flavor and a slightly different texture. If you are looking for something a little different, but still traditional for Thanksgiving dinner than this may be just the right recipe.


Butternut Squash Pie

Ingredients
  • 1 single pie crust
  • 1 butternut squash
  • 1 1/4 cup sugar
  • 4 1/2 tsp cornstarch
  • 1 Tbsp cinnamon
  • 1/2 cup (1 stick) butter softened
  • 2 eggs
  • 1/4 cup water
  • 3 tsp vanilla
Cooking Directions
  1. Preheat the oven to 400 degrees F.
  2. Line a baking sheet with aluminum foil, then spray the foil with spray butter.
  3. Cut the butternut squash in half the longways. Scoop out all the seeds with a large spoon.
  4. Put the squash cut side down on the foil. Bake for 40 minutes.
  5. While the pie is baking line the pie pan with the crust.
  6. Let the squash cool for 5-10 minutes. Then remove the inside of the squash. Put the squash in the fridge to cool for at least 10-15 minutes.
  7. When the squash has cooled. Preheat or change the oven temperature to 350 degrees.
  8. Mix together the sugar, cornstarch, and cinnamon.
  9. Beat in the squash, butter, eggs, water, and vanilla. Continue to beat until the mixture is smooth.
  10. Pour into the prepared pie crust.
  11. Bake for 40-45 minutes. Cover the crust for the last 15 minutes if the crust starts to brown too quickly.
This recipe adapted from Taste of Home.

You may also enjoy


Pumpkin Pie


Chocolate Cherry Ganache Pie


Sunday, August 17, 2014

Easy Tomato Mozzarella Salad


I live in an area of Southwest Michigan where there is a festival for every kind of fruit. Strawberry, blueberry, peach, apple etc. As far as I know there is no festival for tomatoes. However looking at the produciton in my garden right now... I feel like that would be an excellent idea.

I go out and pick 20+ cherry tomatoes almost everyday. It is really kind of crazy for the two of us. In an effort to use some of the tomatoes up, I made this easy and tasty tomato mozzarella salad last weekend.


We devoured it.. and the overwhelming feeling of endless tomatoes ended.


Easy Tomato Mozzarella Salad

Ingredients
  • 7-8 cherry tomatoes, quartered
  • 8 oz mozzarella, cubed
  • 5-6 leaves basil, chopped
  • olive oil
Cooking Directions
  1. Alternate the cherry tomatoes and mozzarella on the serving plate.
  2. Sprinkle the chopped basil over the tomatoes and mozzarella.
  3. Lightly pour olive oil over everything.

Recipe Source: Laura's Baking Talent

You may also enjoy


Tomato Basil Spaghetti


Greek Pasta Salad


Chicago Dogs

Thursday, July 3, 2014

Cake Mix Fudge


Oh hello there! It feels like its been forever since I've done a post. I apologize, but we have been enjoying the burst of summer that we have had in our area. We love to just be outside when the weather is this nice. We take Gdog on long walks, go to the beach, fishing, or just to get ice cream.


I had big plans to do a big mega shopping trip on Monday and then I was going to blog on Tuesday. I got waylaid by summer again, which was a good thing. A good thing? Yes we had a really big storm come through here and most of my town lost power. We were lucky enough to get ours back on relatively quickly, but there are still some without power.  I'm thankful I didn't have a fridge filled with food.


This fudge is perfect to make when you are in a lazy summer mood, because it takes no time at all. I actually made this while my coffee was brewing this morning. Yes... its so quick and easy you can accomplish it before having your coffee. I decided to put some patriotic sprinkles on top.. HAPPY 4th of JULY! Looking for other patriotic desserts, check out my Firecracker Cake, these red white and blue deviled eggs, or these m&m cookies.


Cake Mix Fudge

Ingredients
  • 2 cups cake mix
  • 2 cups powdered sugar
  • 1/2 cup (1 stick) butter
  • 1/4 cup milk
  • 1 cup white chocolate chips
Cooking Directions
  1. Prepare a 9X9 pan by lining it with foil, and spraying the foil with spray butter.
  2. Put the cake mix and the powdered sugar in a large microwave safe bowl, stir them together.
  3. Add the milk and butter. Cut the butter into about 6 pieces. Do not mix.
  4. Microwave everything for 2 minutes.
  5. Remove from the microwave and stir everything until well combined.
  6. Add the chocolate chips. Stir until mostly melted.
  7. Pour the mixture into the prepared 9X9 pan.
  8. Sprinkle the sprinkles on top of the fudge. Gently pat the sprinkles down into the batter.
  9. Put in the fridge for at least 1 hour.
  10. Cut the fudge and serve.
Recipe Source: Laura's Baking Talent

You may also enjoy


Raspberry Cheesecake Ice Cream


Peanut Butter and Chocolate Bars


Grilled Banana Boats

Sunday, June 22, 2014

Pink Lemonade Cookies


We went out to lunch today after church and decided to stop at one of the outlooks on the way home. While we were there we saw the largest dog. He was black and shaggy and probably up to my waist at least. He looked so cute we had to stop and say hi to him and his owner. He turned out to be a Newfoundland whose name was Zipper. He was probably one of the most friendly dogs that I've ever met.


As he continued his walk everyone wanted to stop and give him pets.  We got in the car and I decided our second dog should be a Newfoundland. So I started googling images of them. I changed my mind when I saw a picture of a Newfoundland drinking directly from the faucet.


Do you want to know what is the exact opposite of the dog we saw? These cookies. They are sweet and a little tart just like a glass of lemonade. They taste like lemonade because you actually use thawed frozen concentrate to make them. I'm sure that kids would love the idea of making cookies out of lemonade. They would be perfect for a summer BBQ or a girls baby shower.


These cookies are super fluffy and moist in the center. I frosted mine, but I tried one without frosting and it was still amazingly good.


Pink Lemonade Cookies

Yield: 24 cookies
Ingredients
  • 1 cup butter, softened
  • 1 cup white sugar
  • 1 tsp baking powder
  • 1/2 tsp baking soda
  • 2 egg, slightly whisked
  • 2/3 cup frozen pink lemonade concentrate, thawed
  • 5 drops pink food coloring
  • 3.5 cups flour
  • 4 Tbsp butter, softened
  • 4 cups powdered sugar
  • 4 tsp frozen pink lemonade concentrate, thawed
  • 8 tsp milk
Cooking Directions
  1. The butter and sugar should be added to a large bowl. Beat together until fluffy.
  2. Add in the baking power and baking soda and mix again.
  3. Mix in the egg and the lemonade concentrate.
  4. Drop in the food coloring and mix everything well.
  5. Start to add the flour 1/2 cup at a time, mixing in between until all of the flour has been added.
  6. Put the cookie dough in the fridge for at least an hour.
  7. Preheat the oven to 350 degrees.
  8. Measure out 2 Tbsp of dough and form it into a round circle about the size and thickness you want the final cookie to be.
  9. 6 cookies will fit on each sheet comfortably.
  10. Bake for 10 -12 minutes.
  11. Cool the cookies on the cookie sheet for at least 2 minutes before removing them to cool completely on a wire rack.
  12. For the frosting, beat together the butter and powdered sugar.
  13. Mix in the lemon concentrate.
  14. Add 2 tsp of the milk in at a time, beating between each addition and stopping when you get a spreadable consistency.
  15. Add food coloring if you would like pink frosting.
  16. Frost the cookies and enjoy.

Recipe adapted from Red Velvet Cupcake Murder by Joanne Fluke.

You may also enjoy


Key Lime Pudding Cookies


 Lemon White Chocolate Muffins


Pineapple Cookies


Friday, June 20, 2014

Blog Tour

I started blogging a little over a year ago. It started as kind of whim really. I had gotten into baking more and started to follow some food blogs on the web. I loved reading all of their recipes and trying them at home. As I started to make more and more treats...i got more excited and started to put the pictures on Facebook. This lead to several people asking me for different recipes.

A good friend then suggested that I start a blog. I told them that I certainly wasn't an expert on baking, I just liked doing it. In return she said that she would love to read a blog from someone who is just learning, because then they would feel more confident trying the recipes themselves.

http://laurasbakingtalent.blogspot.com/2013/09/chocolate-chip-cake.html


So Laura's Baking Talent was born. I started the blog and at first I didn't really let too many people know about it. However over time I shared it with more family and friends and eventually I even started to venture out to other blogs where I left comments from Laura @ Laura's Baking Talent.

http://www.laurasbakingtalent.blogspot.com/2014/01/pimento-cheese-spread.html

The cool thing about leaving comments on other blogs is that it gives you exposure to so many new faces, and they start to come to your blog as well. You then go back to their blog.. and before you know it you start to learn more about their personalities and their families and you become friends with people that you haven't even met.

http://laurasbakingtalent.blogspot.com/2013/08/lemon-white-chocolate-muffins.html

One of these blogging friends is 
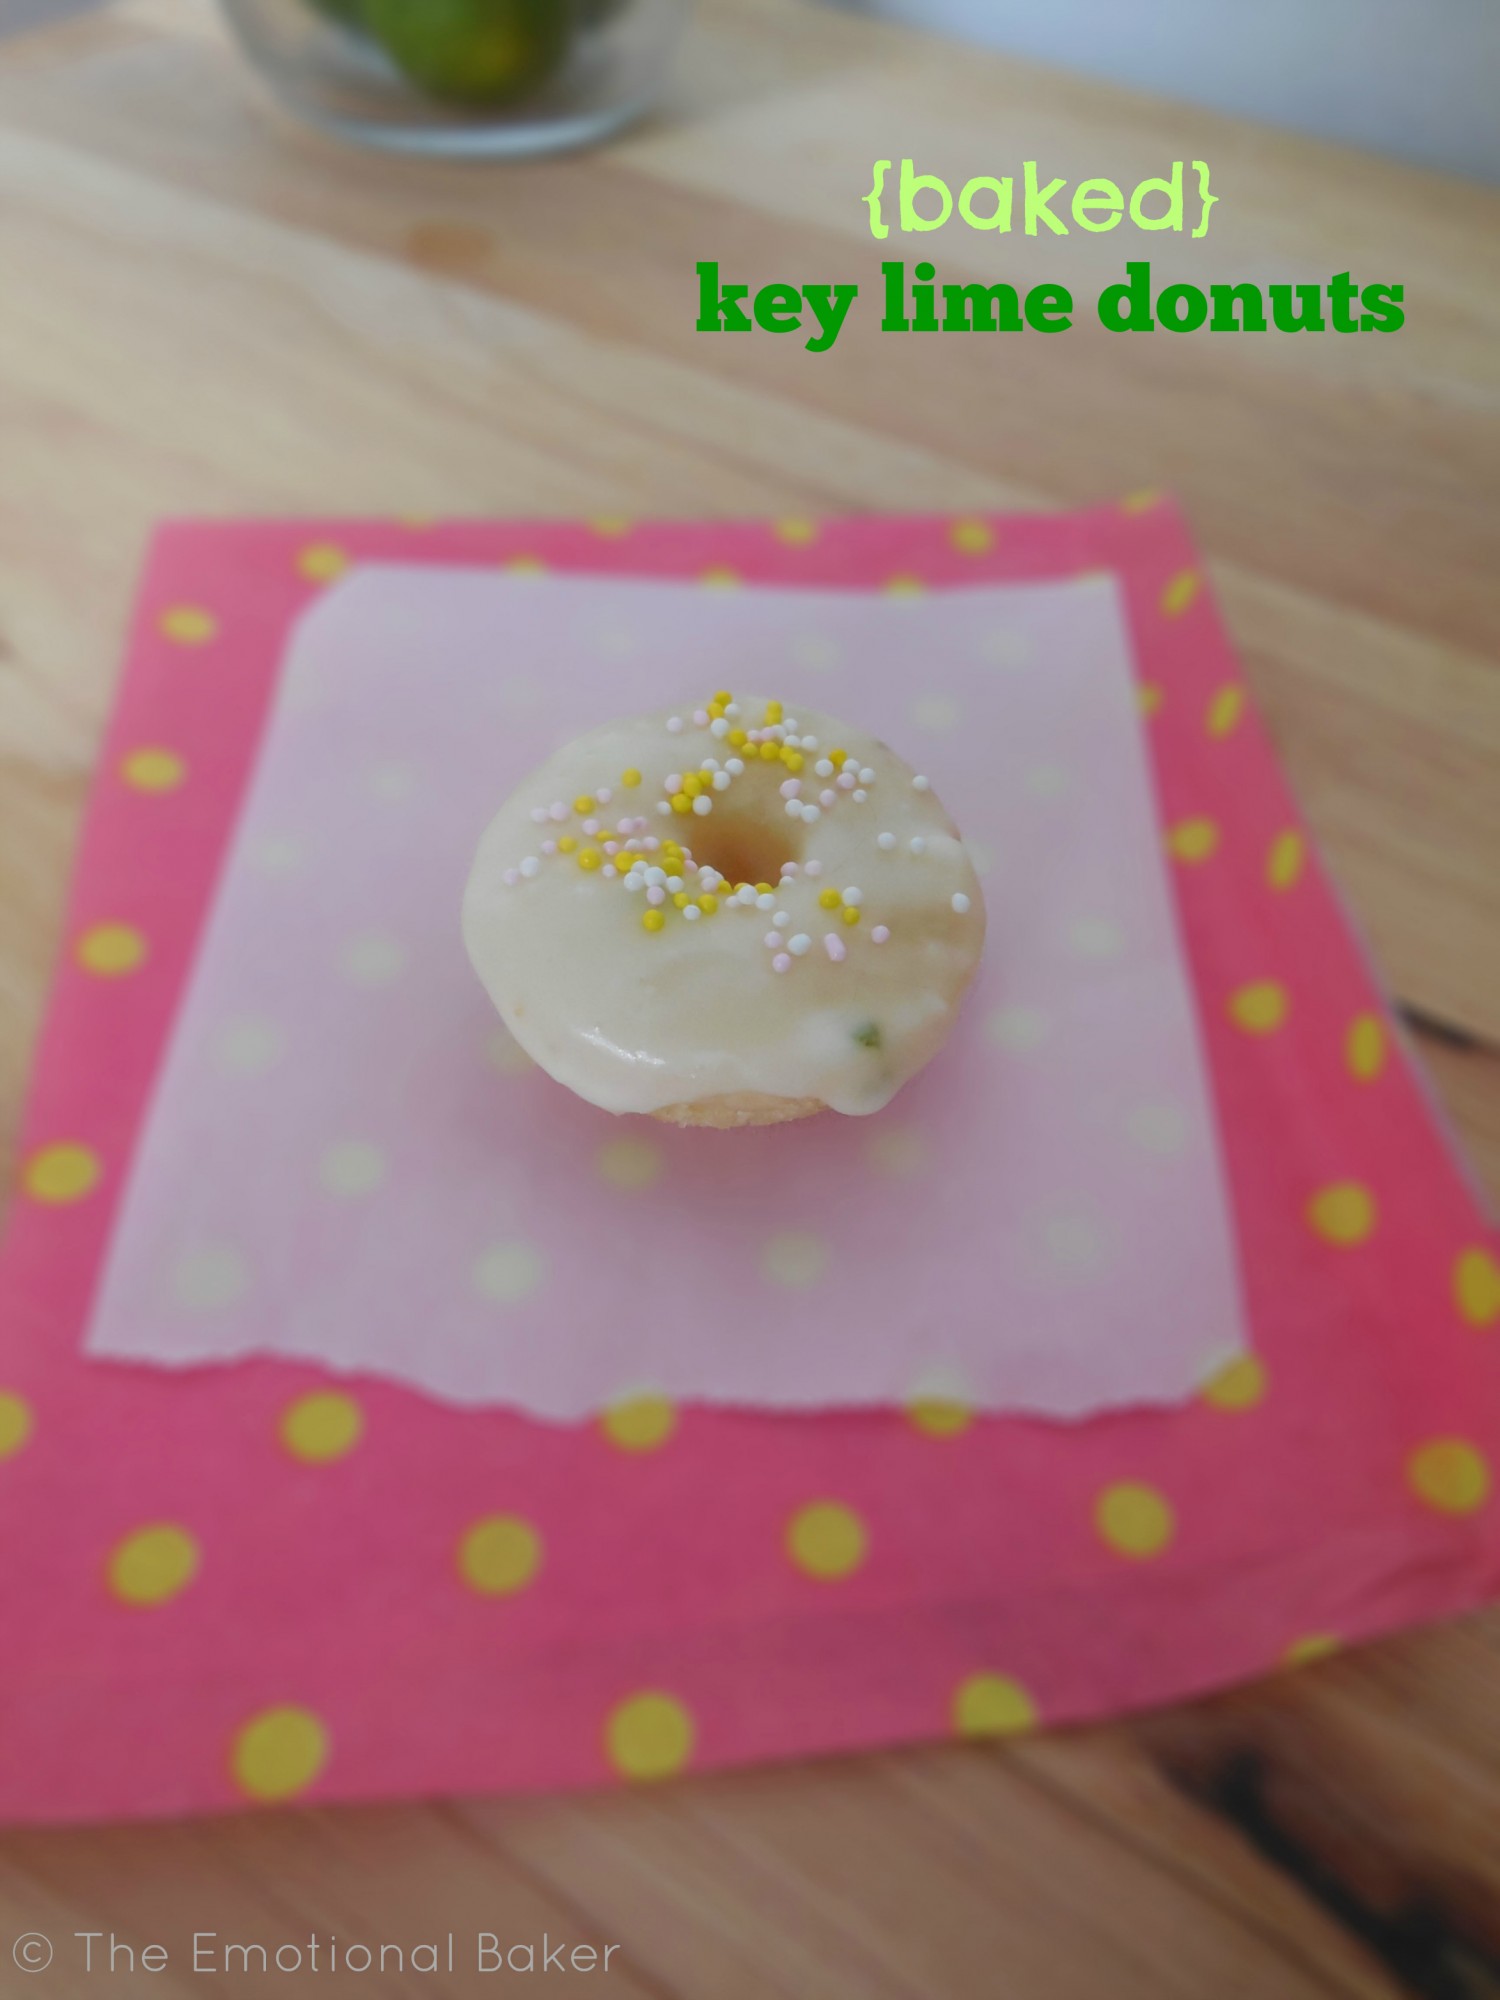
Megan from The Emotional Baker. Most of  Megan's recipes are vegan, but they are also very tasty. You should really check out these baked key lime donuts. Megan was nice enough to nominate me on her blog tour.

Lime Donuts

As part of the tour I need to answer a couple of questions for you and then I get to nominate a couple of my favorite blogs.

What am I working on?

For those who have followed Laura's Baking Talent from the beginning you know that I started out doing theme weeks. I had a lot of fun doing different themes, however it kind of limited me on the variety of posts that I could put on the blog. So I'm working on two things. The first is trying to add more variety to the food posts that I am writing about. The second is that I'm also trying out some non food posts. For example this one about my square foot garden.


How does my work differ from others in the genre?

I really don't strive to necessarily make my blog different. I just strive to have tasty recipes, that use simple easy to find ingredients and are relatively easy to make. I have a few non baking friends and a couple of nieces that love to try my recipes. So I want to be creative, but keep everything simple enough that people want to try making the recipes they see on the blog.

http://www.laurasbakingtalent.blogspot.com/2014/04/chocolate-no-bake-cookies.html

Why do I write about what I do?

I love baking and cooking in my kitchen. I feel like there is a simple satisfaction in following a recipe, getting a tasty result and sharing that with family and friends. So I write to share the recipes I find and create, so that others can have the same joy in their kitchen.


http://www.laurasbakingtalent.blogspot.com/2013/11/grandmas-candy-apples.html


How does your writing process work?

I always have about 30 more ideas for posts than I've actually done. I will get inspiration from a tv show, a book I'm reading, or from another blog. All of these ideas end up in a little spiral bound notebook that I have.

Once I have an idea I finalize the recipe. Make it, take pictures and then I will start writing the posts. I really do love the whole process of creating the recipe and making the treats. Even though the photography will sometimes frustrate me I still enjoy taking the pictures.  However I have a hard time writing specifically about how great the food tastes, or to much about the specifics of food science. There are only so many ways to say that a recipe tastes AMAZING, DELICIOUS, etc. When I was starting the blog I read some advice that you should just write like you are talking to your sister. So I end up doing just that. I write about the little things that I would talk about with my sister or mom. Like the garden, the latest antics of any of the animals, or the latest book I'm obsessed with right now.

I would like to continue my blog tour by introducing you to David from Spiced.

 David Dial Blogger


I specifically remember seeing a comment from David on one of the other blogs that I followed and finding my way to his website. It didn't take me long to fall in love with his recipes. I love that he has lots of grilling recipes like these Copycat Chili's Chicken Fajitas.

 Homemade-chilis-chicken-fajitas-photo
I pretty much tell the hubby that Spiced has a new recipe for him to try and he is game to try it. There are also some mouthwatering desserts like this Classic Greek Baklava that I always have on my list to try.  I also have to add that David is married to a female engineer, so that gives him extra bonus points in my book.

The next blog I would like to feature is Jocelyn from Grandbaby Cakes. She lives right across the big lake from me in Chicago. I absolutely love that her blog is inspired by her grandmother.

jocelyn delk adams

She has classic twists on some southern recipes, like this Mexican Cornbread that will make you want to bake them immediately. However I probably love her blog most for some of her creative desserts. This Raspberry S'more Pie really says it all.

s'more pie

Please be sure to check out these other blogs. I'm sure you will love all of their recipes as much as I do.


Monday, June 16, 2014

Homemade Crackers


I was rolling the dough out to cut these crackers and my sister calls.
Sister: "What are you doing?"
Me: "Making homemade crackers."
Sister: "Really. You know that saltines are like $1.99 a box."
Me: "They are for the blog."
Sister: "Ok?"


2 minutes later and hubby calls on the way home from a business trip.
Hubby: "What are you doing?"
Me: "Making homemade crackers."
Hubby: "Crackers? How?"
Me: "I made this dough last night and I'm rolling it out and then I get to cut it with the pizza cutter!"
Hubby: "What are you cutting it on?"
Me: "Oh don't worry I have the cutting board...."
Hubby: "Ok... Well don't cut yourself."


After the crackers are cooked.
Me: "G dog these crackers are smaller than I think they should be"
Gdog: Pant.. Pant... They smell good.
Me: "Lets have a couple of them...."
Gdog: Yum!
20 crackers later.
Me: "Gdog we have to stop eating these crackers until I take pictures of them!"
Gdog: Ok.. I'm off to watch the birds.


Homemade Crackers

Ingredients
  • 1 1/2 cups all purpose flour
  • 1/4 oz or 2 tsp instant (fast rise) yeast
  • 1/4 tsp salt
  • 1/4 tsp baking soda
  • 1/4 tsp cream of tartar
  • 1 tsp sugar
  • 1/2 cup water
  • 2 Tbsp butter
  • 2 Tbsp vegetable oil
  • seasoned salt
Cooking Directions
  1. In a large bowl mix together the flour, yeast, salt, baking soda, cream of tartar, and sugar.
  2. Add the water, butter and vegetable oil into a small saucepan. Heat at medium heat until the butter has melted.
  3. Test the temperature of the mixture, it should be slightly warmer than lukewarm.
  4. Add the liquid ingredients to the dry ones.
  5. Beat on medium speed for about 30 seconds, then on high speed for 30 seconds, and then at medium speed for an additional 30 seconds.
  6. The dough should be soft, put it in a greased bowl.
  7. Cover the bowl and put it in the fridge overnight.
  8. When you remove the dough allow it to warm up for about 15 minutes.
  9. Pick a flat surface that you can roll and safely cut the dough on.
  10. Flour the surface and roll the dough to a size of about 13" X 15". Remember to always roll away from the center of the dough.
  11. After reaching the desired size fold the dough into thirds, similar to how you would fold a letter.
  12. Roll the dough out again to an approximate size of 11" X 19".
  13. Preheat the oven to 425 degrees.
  14. Sprinkle the dough with the seasoned salt.
  15. Cut the dough into the appropriate sized cracker. Mine were about 3/4 inches square, but you could make them larger.
  16. Line a cookie sheet with parchment paper, and fill with crackers.
  17. The crackers can sit close together, since they will not get larger.
  18. Peirce the top of each cracker with a fork.
  19. Bake for 10 minutes. Leave the crackers in the oven.
  20. Turn off the oven and open the door. Allow the crackers to remain on the oven rack until they are completely cool.
  21. When cooled store in an airtight container.
Recipe adapted from King Arthur Flour 


You may also enjoy


Pimento Cheese Spread


Tzatziki Sauce